Create an objection case
This part of the guide explains how to create an objection case and link an assessment or an opening balnace.
Once the objection case has been confirmed, SIGTAS assigns it a unique objection number. As soon as step 2 is completed, the user must associate an assessment and/or an opening balance (steps 3 and 4) to complete the objection case.
Step 1 - Go to the page List of Objection Cases
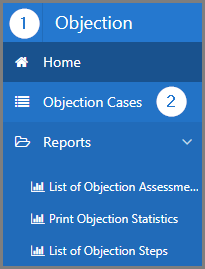
- Go to the Objection module;
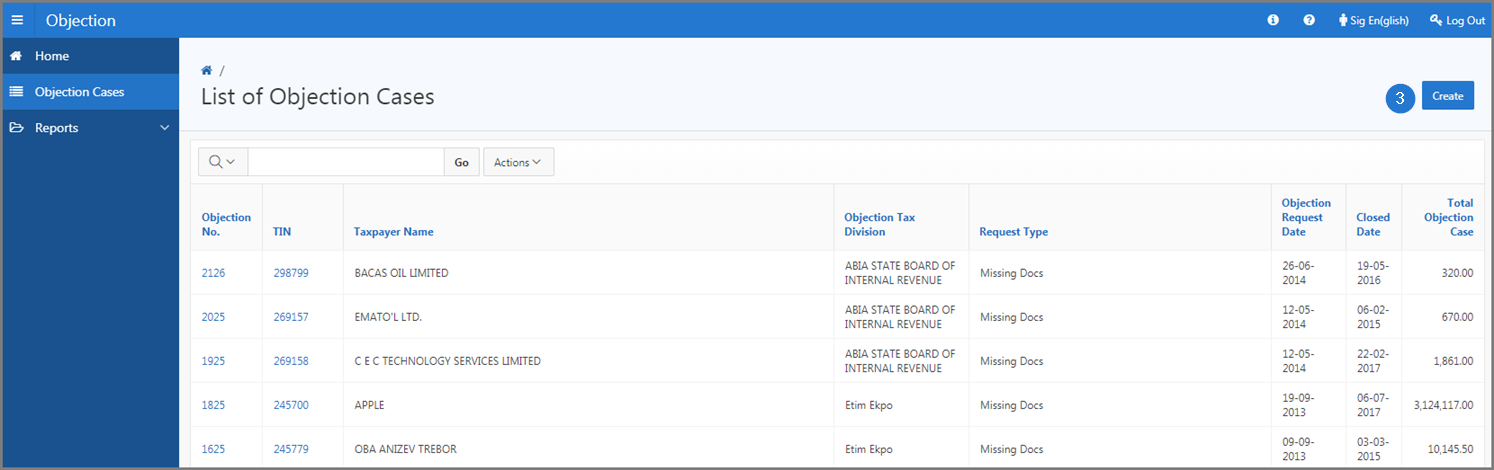
- Choose the Objection Cases menu. This action opens the List of Objection Cases page (550: 2001);
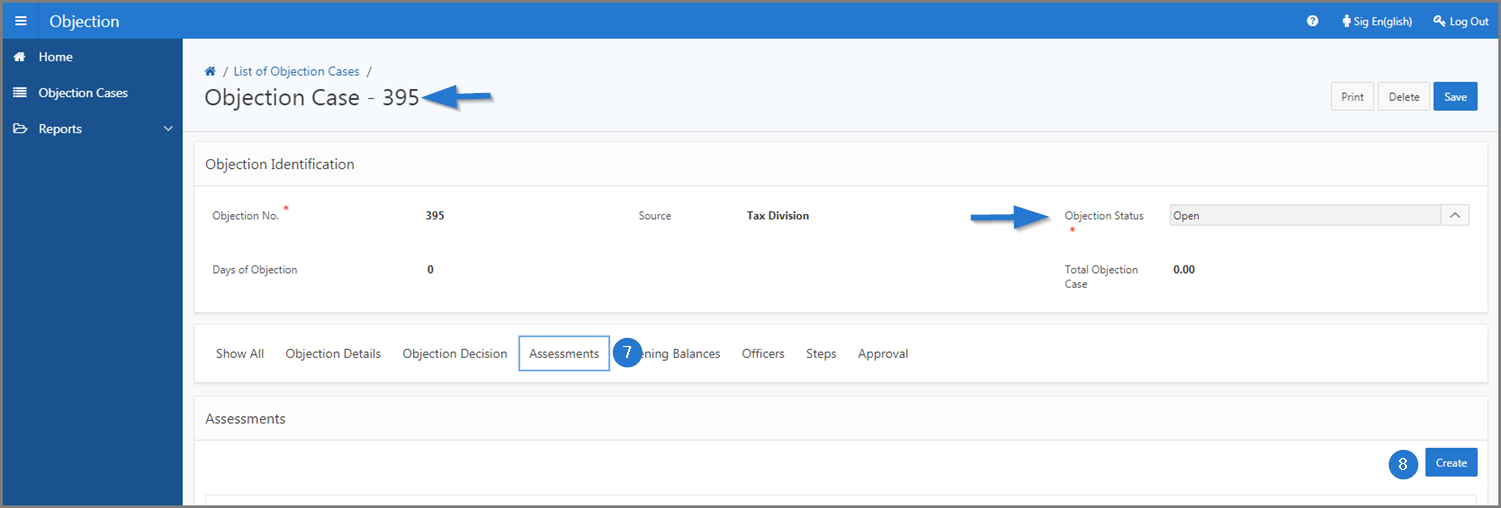
Step 2 - Create an objection case
- Click the Create button. This action opens the Objection Case page (550:1001);
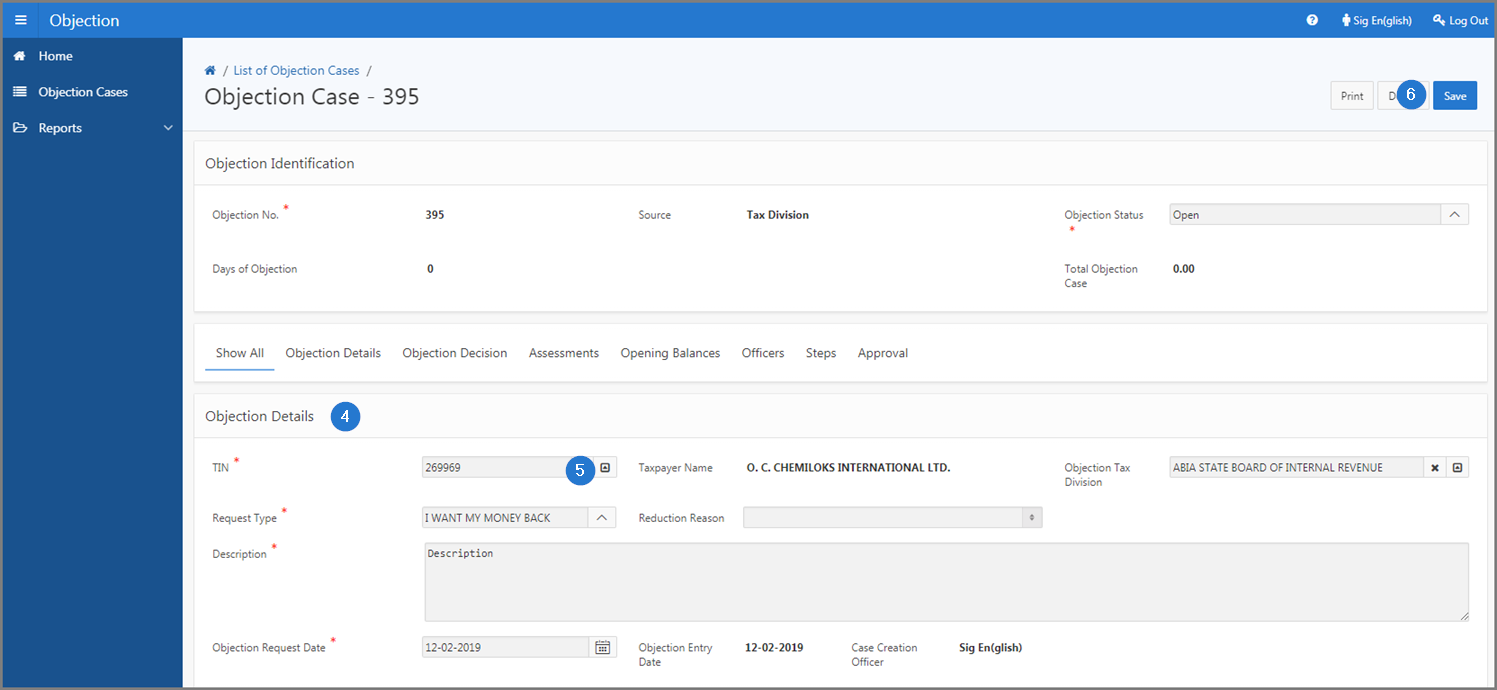
- Go to the Objection Details section;
- Fill out the required fields (identified by a red asterisk *). For example, TIN, Request Type, etc.;
- Click the Save button. This action confirms the creation of the objection case, assigns an objection case number and updates the Objection Case page (550:1001);
Step 3 - Add an assessment to an objection case
- Go to the Assessments section;
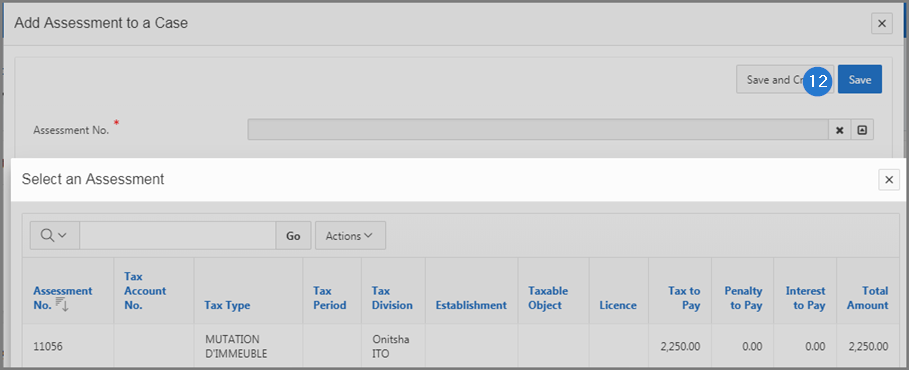
- Click the Create button. This action opens the pop-up window Add Assessment to a Case;
- Fill out the required fields (identified by a red asterisk *). For example, Assessment No.;
- Click the Save button. This action opens a Confirmation window;
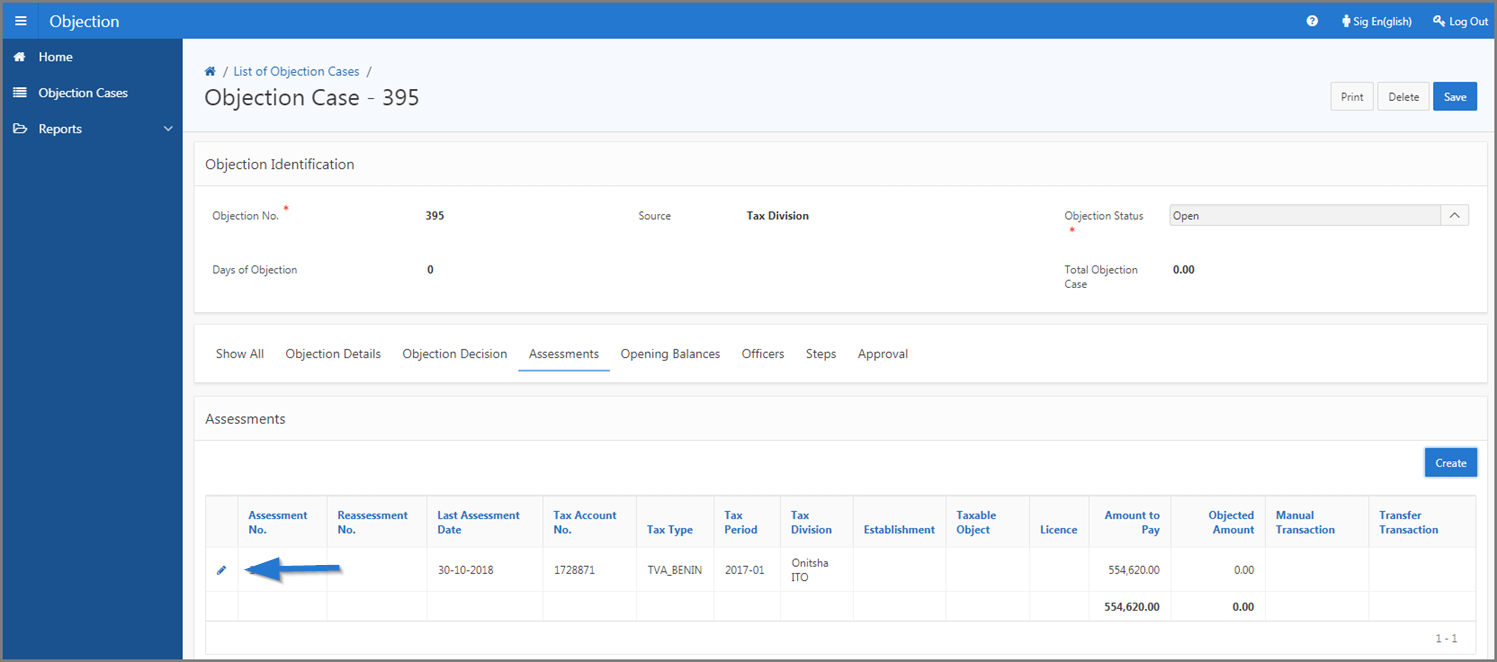
- Click the Yes button. This action confirms the addition of the assessment;

- Click the Save button. This action updates the Objection Case page (550:1001);
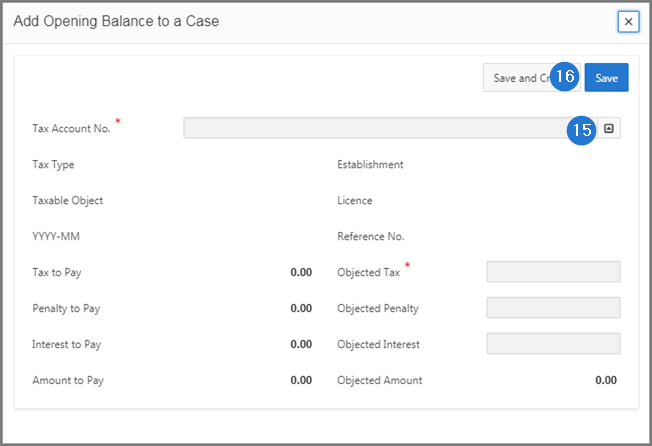
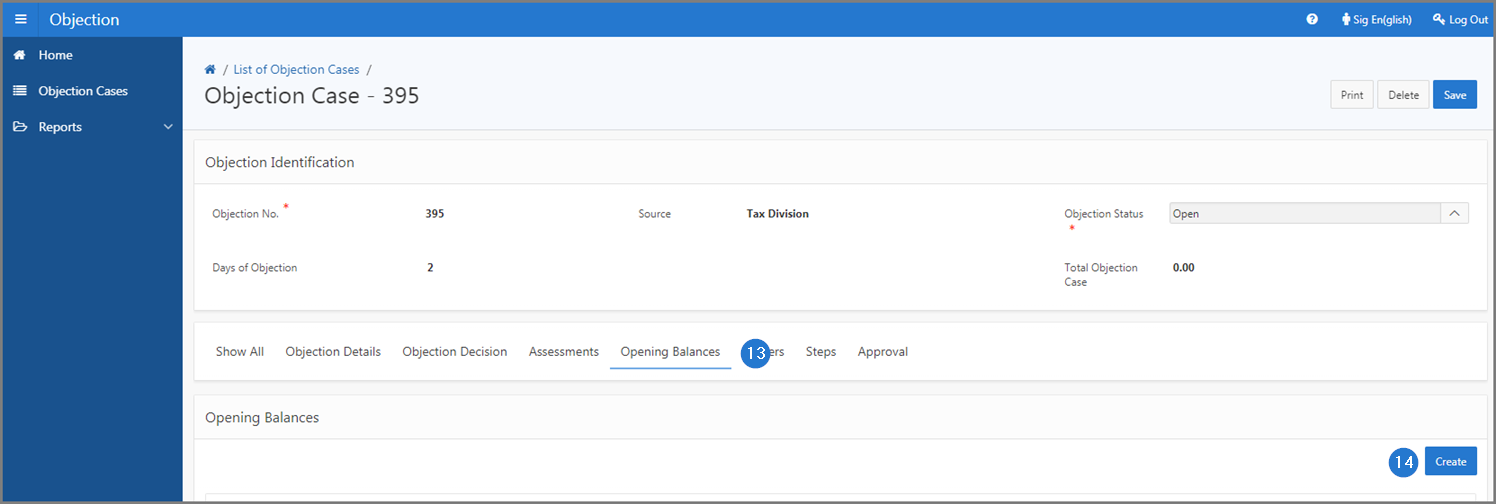
Step 4 - Add an opening balance to an objection case
- Go to the Opening Balances section;
- Click the Create button. This action opens the pop-up window Add Opening Balance to a Case;
- Fill out the required fields (identified by a red asterisk *). For example, Tax Account No.;
- Click the Save button. This action confirms the addition of the opening balance and updates the Objection Case page (550:1001).