Add a branch
This part of the guide explains how to add a branch and associate activities.
The Establishment Activity and Establishment Address must be entered in order to associate the branch to the non-individual enterprise.
Step 1 - Go to the Branchs popup window
- Click the Add button. This action opens the Branchs popup window;

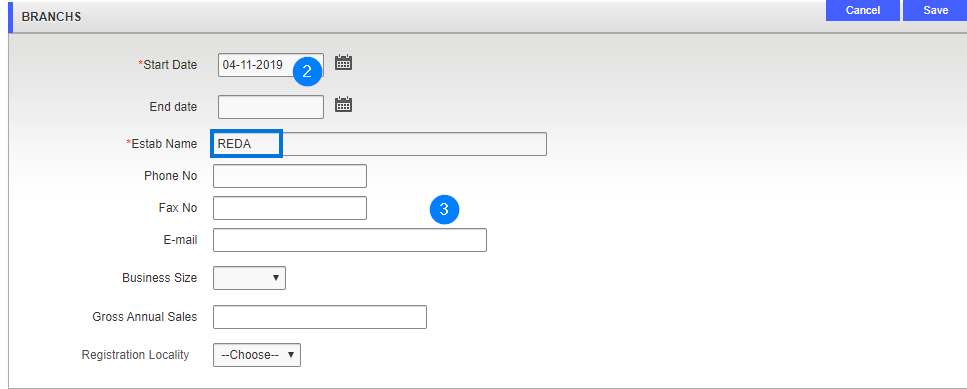
Step 2 - Add a branch
- Go to the Branchs section and fill out the required fields (identified by a red asterisk *). For example, Start Date, Establishment Name, etc.;
- Enter more details if required;
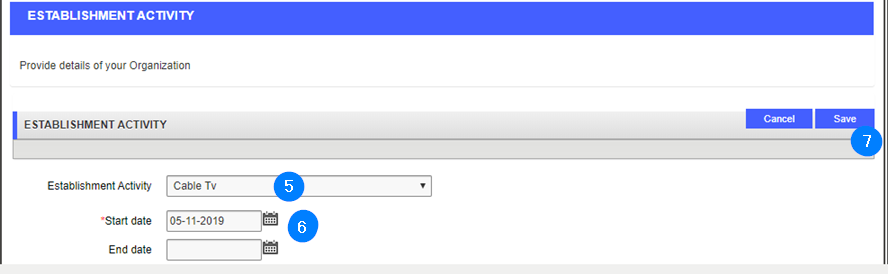
Step 3 - Add a branch activity
- Go to the Establishment Activity section and click the Add button. This action opens the Establishment Activity popup window;

- Use the dropdown list to select the Establishment Activity;
- Enter the Start Date and other details if required;
- Click the Save button. This action adds the activity to the branch and updates the Branchs popup window;
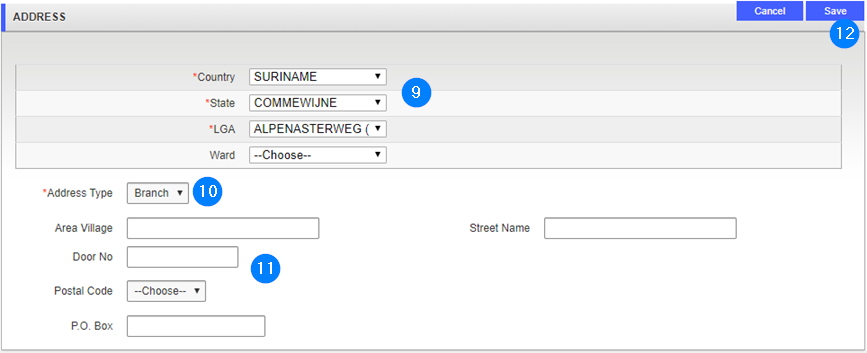
Step 4 - Add an address
- Go to the Establishment Address section and click the Add button. This action opens the Address popup window;

- Go to the Address section and use the dropdown list to choose the Country, State and LGA;
- Enter the Address type;
- Enter other information if required;
- Click the Save button. This action redirects you to the Branchs popup window;
- Click Save again. This action confirms the addition of the branch and redirects you to the Branchs page (the navigation train button becomes green)
- Click the Next button to go forward to the next step: Business Information.
