Create a reassessment
This part of the guide explains how to create a reassessment.
The creation of the reassemment is only possible when the assessment has been calculated and printed. The Create Reassessment button then appears.
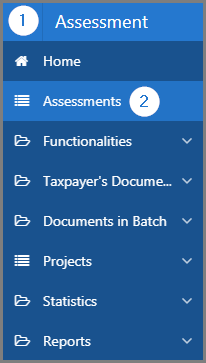
Step 1 - Go to the page List of Assessments
- Go to the Assessment module;
- Choose the Assessments menu. This action opens the List of Assessments page (502:1001);
Step 2 - Create a reassessment
- Go to the Selection Criteria section;
- Fill out the required fields (identified by a red asterisk *). For example, Entry Date;
- Click the Refresh button. This action refreshes the page and displays the list of assessments in the lower section;
- Go to the Calculation Status column;
- Select the Up-To-date option. This action displays all the assesments with this status;
- Find the assessment for which you want to create a reassessment;
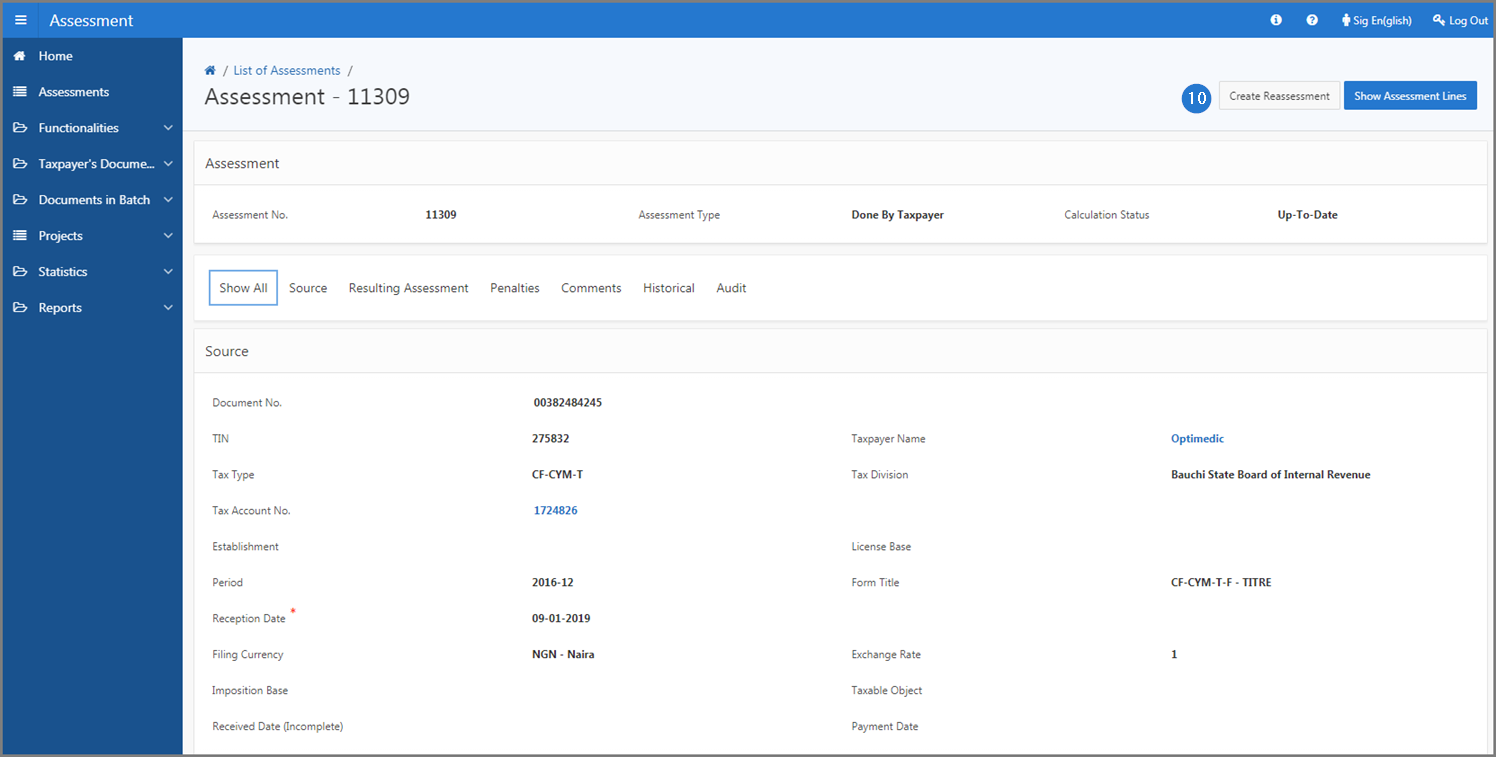
- Click the hyperlink of the Assessment No. subject of the request. This action opens the Assessment page (502:2005);
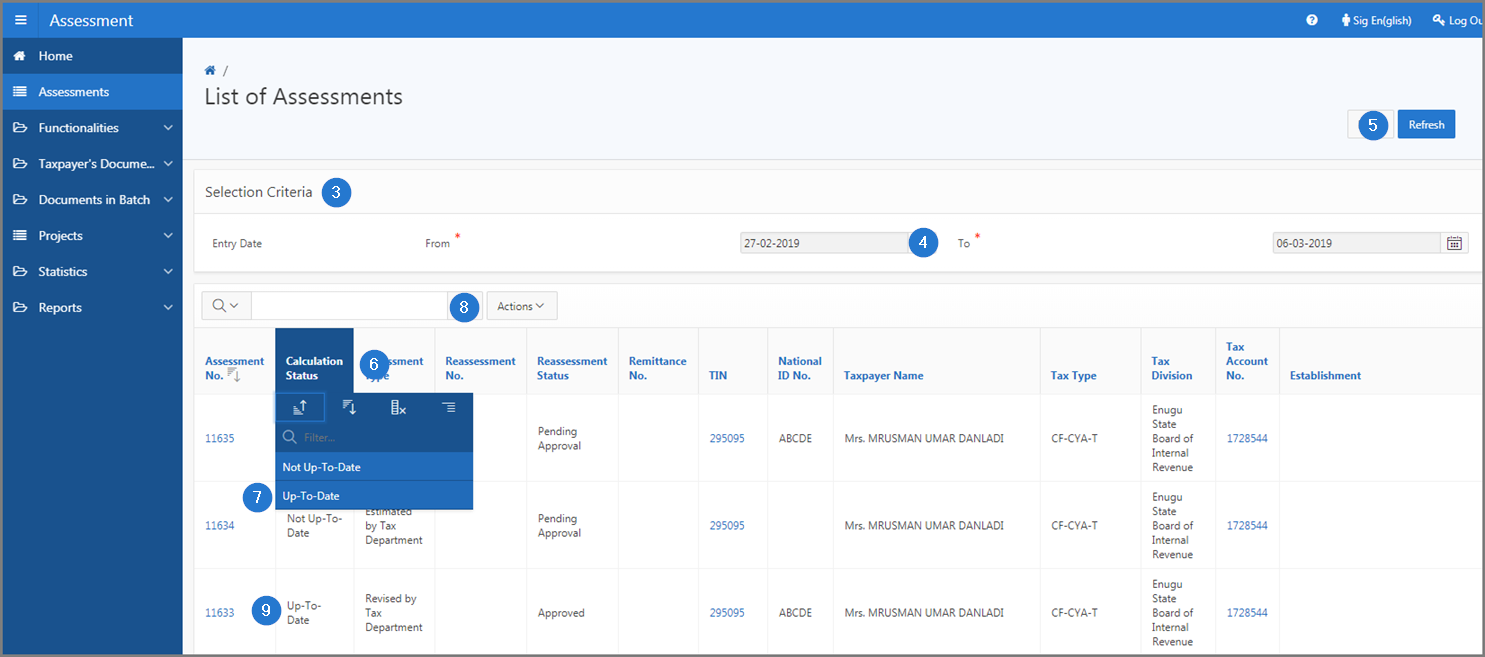
- Click on the Create Reassessment button. This action opens the pop-up window Capture Reassessment;
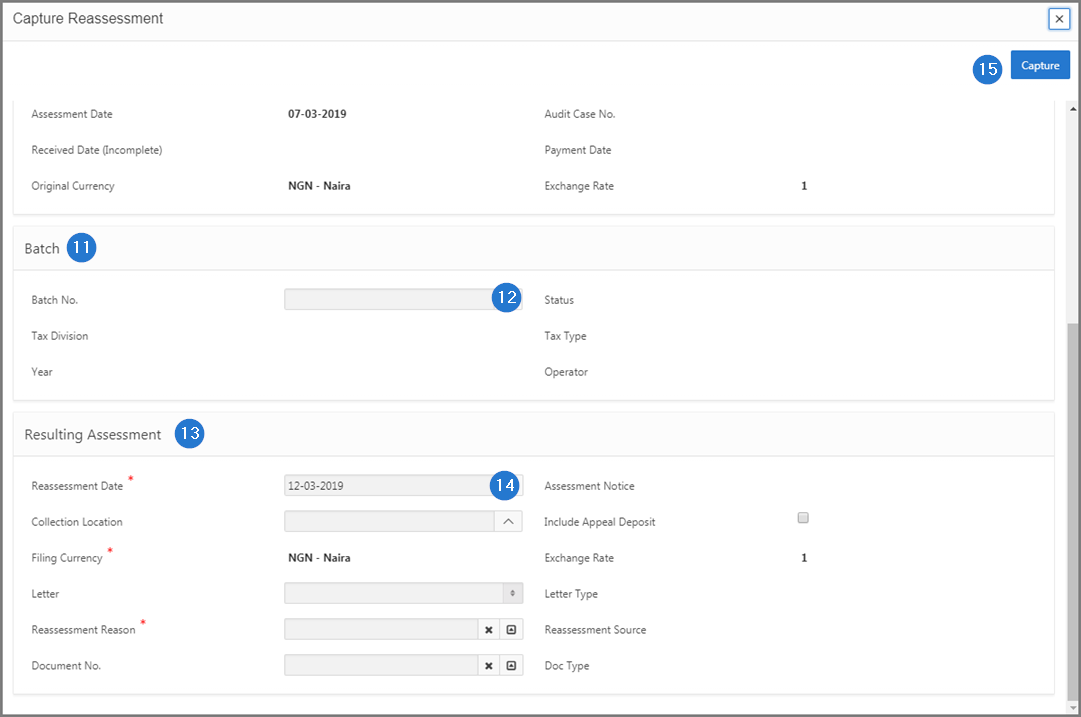
- Go to the Batch section;
- Enter a Batch No.;
- Go to the Resulting Assessment section;
- Complete the required fields (identified with a red star). For example, Reassessment Date, etc.;
- Click the Capture button. This action confirms the creation of the reassessment, assigns an reassessment number and updates the List of Assessments page (502:1001).