Documentation | User Guide

Documentation | User Guide

Customizing a report

Workflow gives you several options to customize a report. You can use filters, determine the number of lines per page or even format your report by applying sorting, etc.

Using a filter

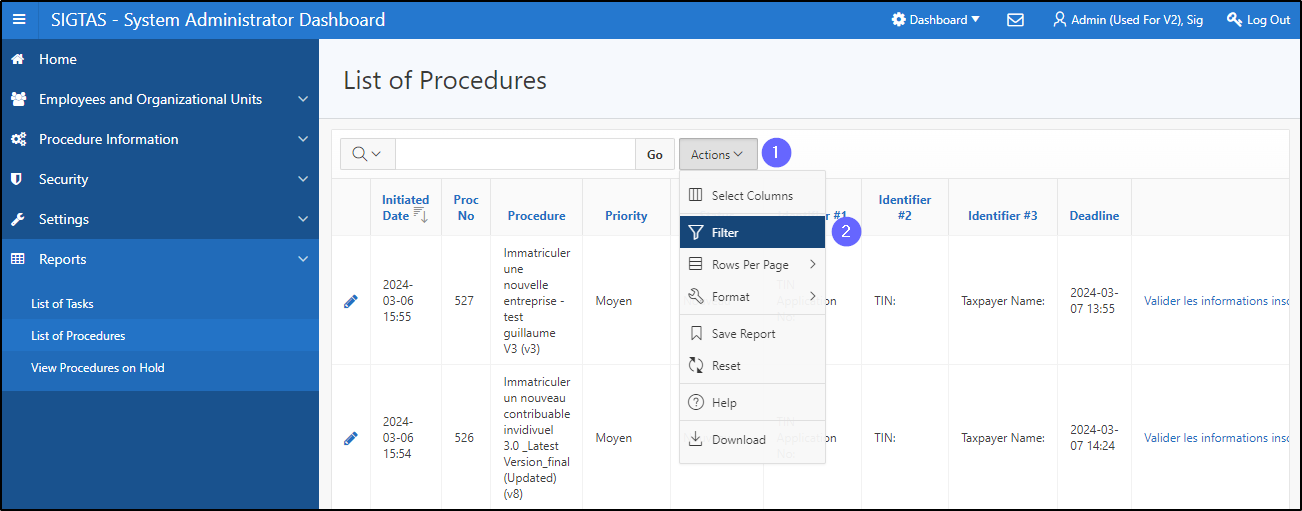
This feature allows you to filter the information by column or page. To use a filter:

  1. Click on Actions;
  2. Choose the Filter option. This action opens the Filter pop-up page;

  1. Using the drop-down lists, select the type of filter you want;
  2. Click the Apply button. This confirms the entry and refreshes your report.

Customizing the number of lines per page

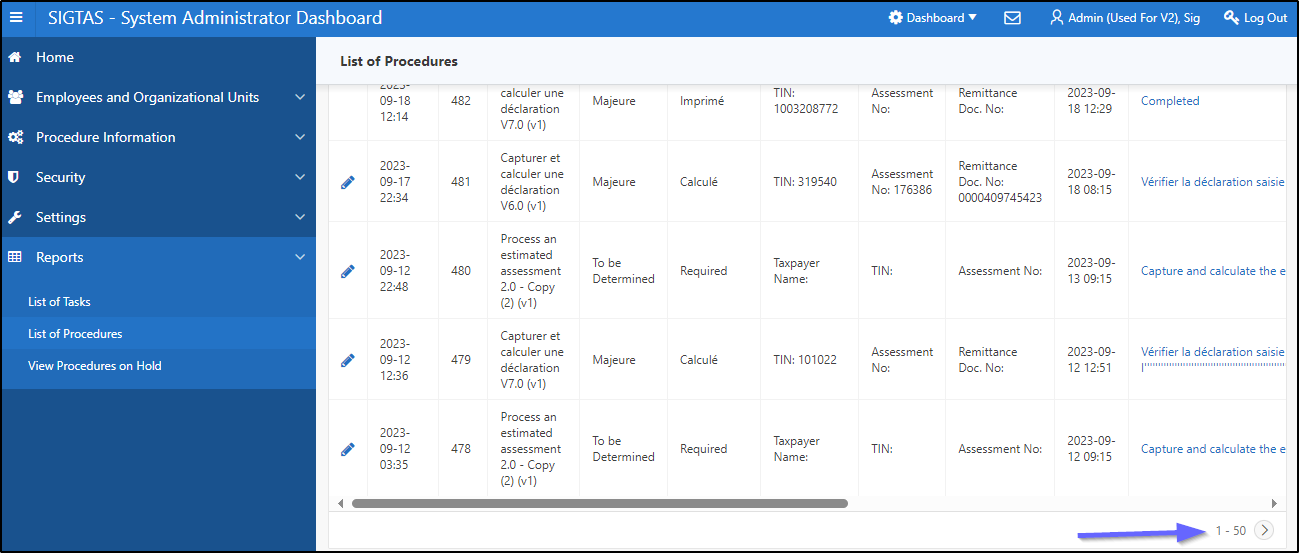
This feature allows you to set the number of rows to display on your report's web page (in the example below xxx (604:2007).

  • To determine the number of rows per page:

    1. Click on the Actions button;
    2. Choose the Rows Per Page option. This opens a drop-down list containing the available values;
    3. Click on the desired number of rows. This action refreshes your report and displays the number of previously selected rows. You can choose to display all rows or only those selected in the list. In the example below, the user chose 50 rows. This number is shown on the right at the bottom of the page.

Choosing the format of your report

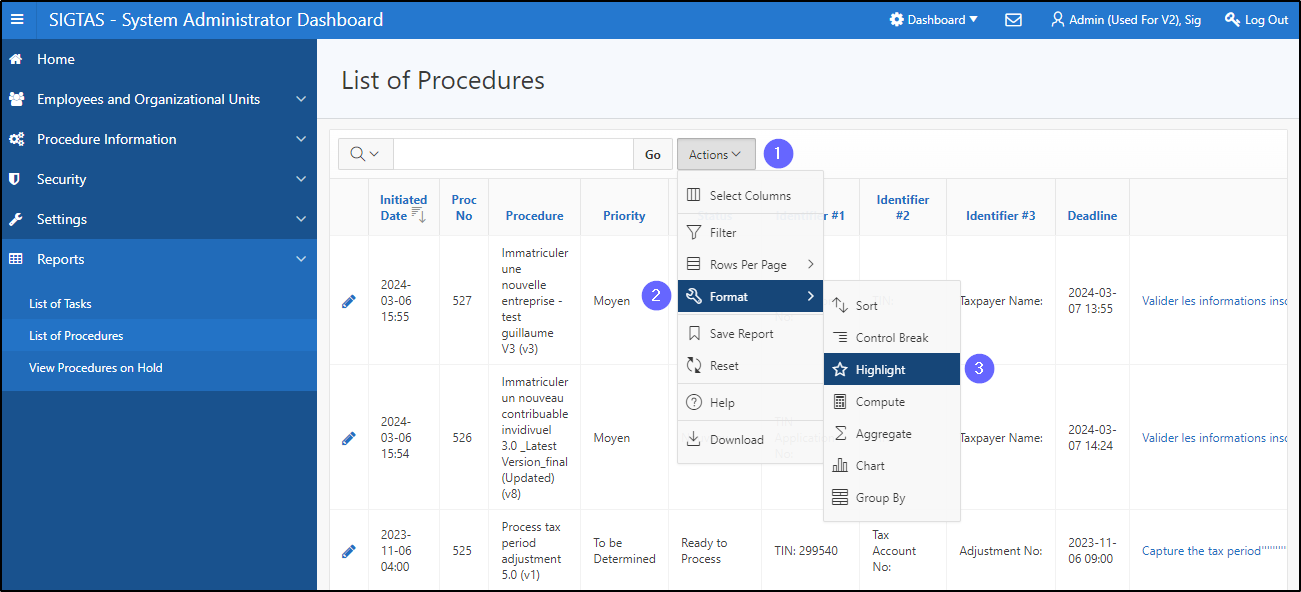
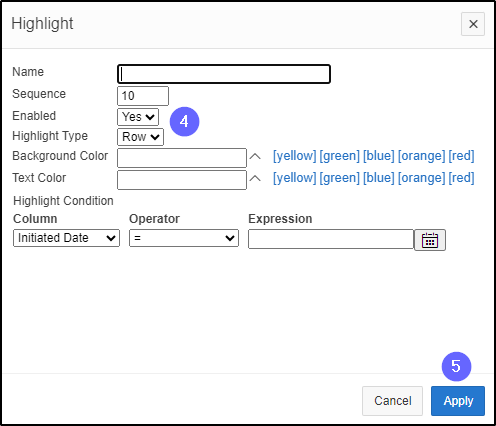
This feature allows you to set the format of your report, such as ascending or descending sorting, mathematical calculations performed on a column, etc. Interactive reports offer the following formats: Sort: Sorts the data in ascending or descending order; BREAK command: Group data by column; Highlight: Sets the filter. Rows that meet the filter criteria are displayed using the filter characteristics; Calculate: Adds calculated columns to your report; Aggregate: Performs mathematical calculations on a column; Chart: Adds a chart; Group by: Group by function.

  • To choose the format of your report:

    1. Click on the Actions button;
    2. Choose the Format option. This opens a drop-down list containing the available formats;
    3. Click on the desired format. This opens a pop-up window where you can apply your selection. In the example below, the user selected the Highlight option. You also have the choice of the number of options;

  1. Fill out the necessary fields;
  2. Click the Apply button. This confirms the entry and refreshes your report.