SIGTAS allows to perform certain standardized operations, such as modifying an objection step or deleting a project type. All of these functionalities apply uniformly, regardless of menus or tables.
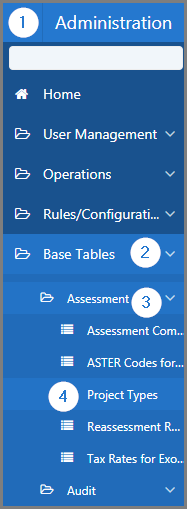
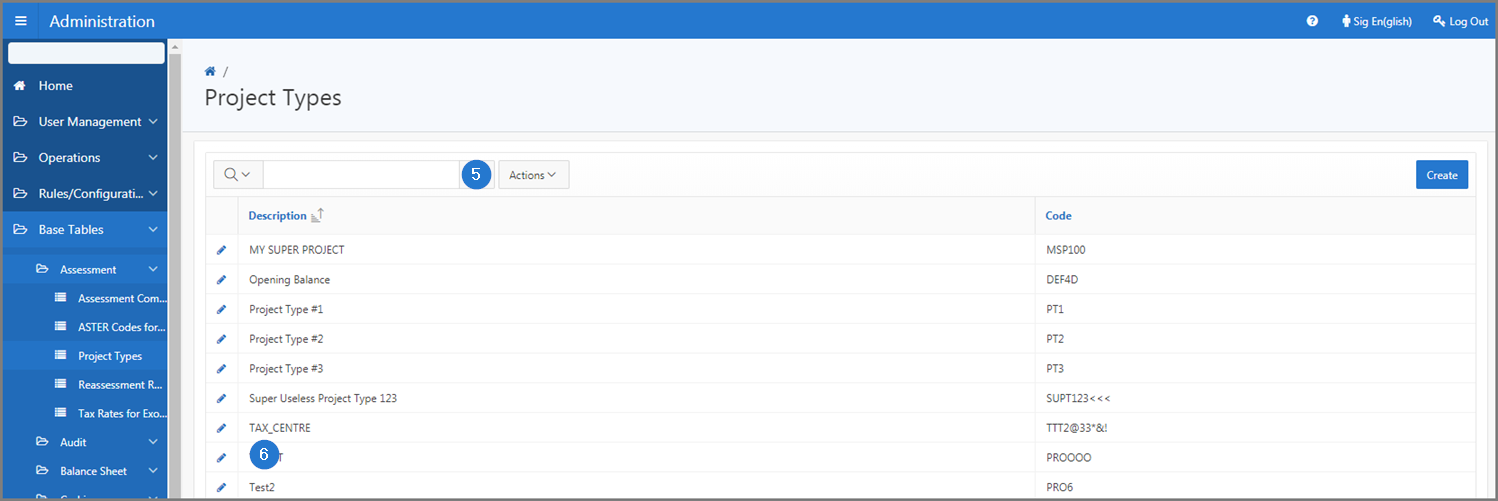
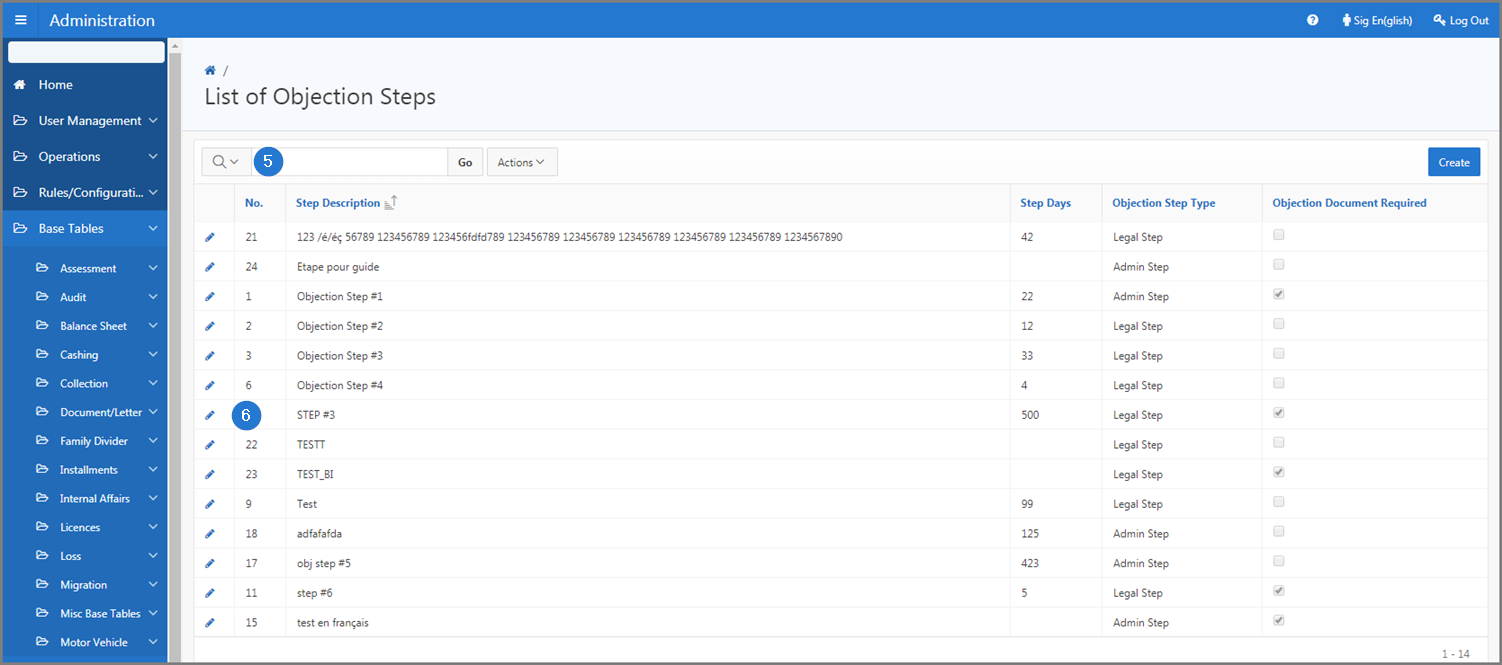
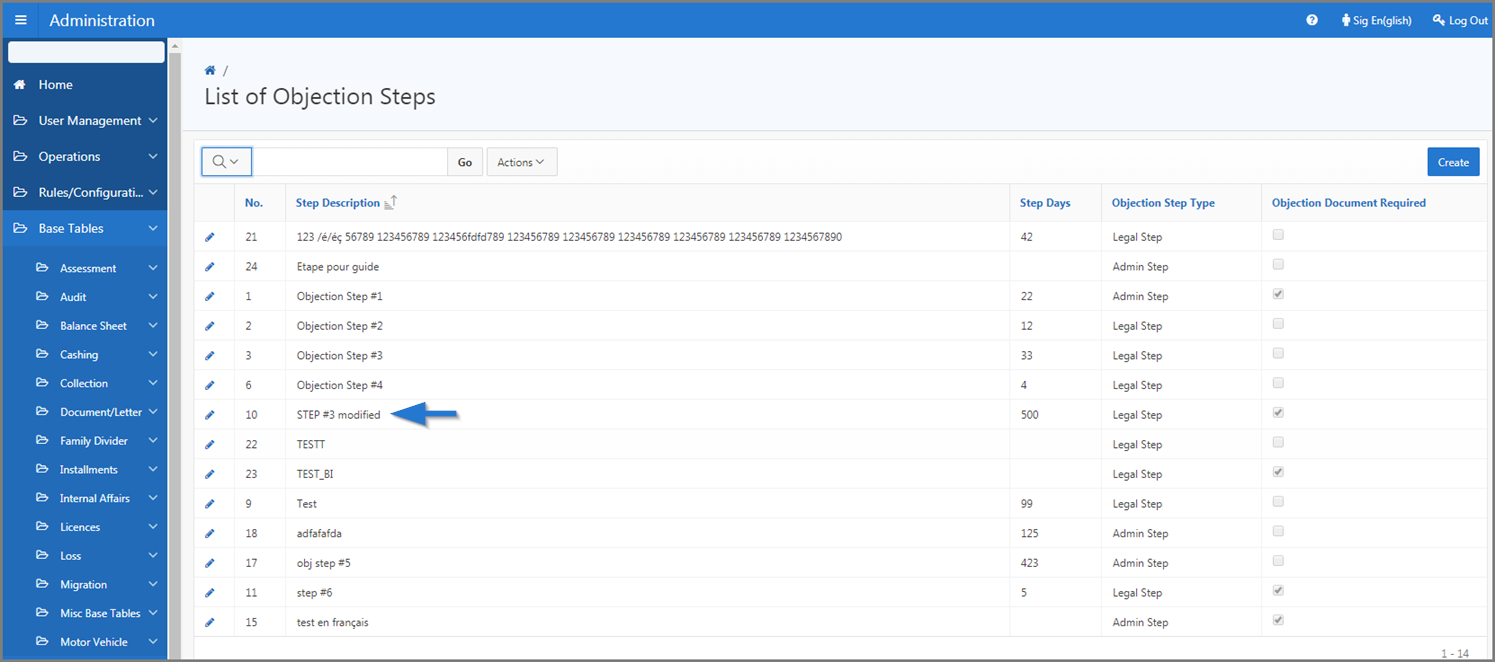
Changes are made from the edit icon or a hyperlink always located on the left side of the page (in the first column of the list). Clicking on the icon or hyperlink opens the page or popup window in edit mode. Once the information has been modified and confirmed (via the Save button), SIGTAS redirects you to the original page.
When the icon or hyperlink is not available, no changes are allowed.
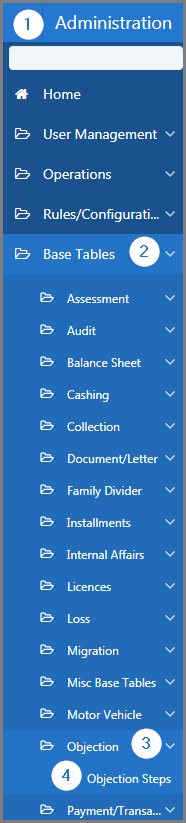
The following example explains how to modify an Objection step.
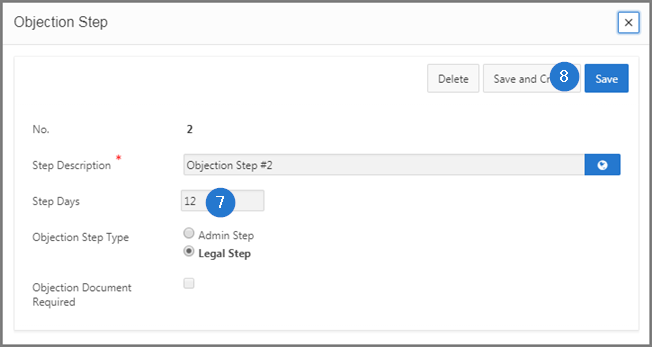
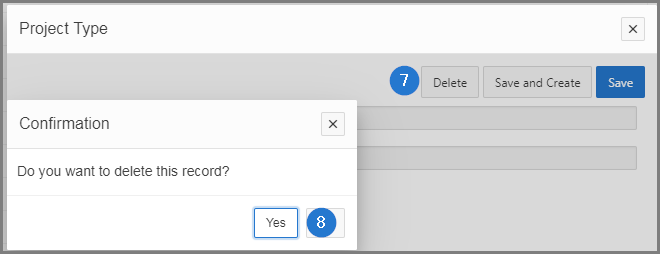
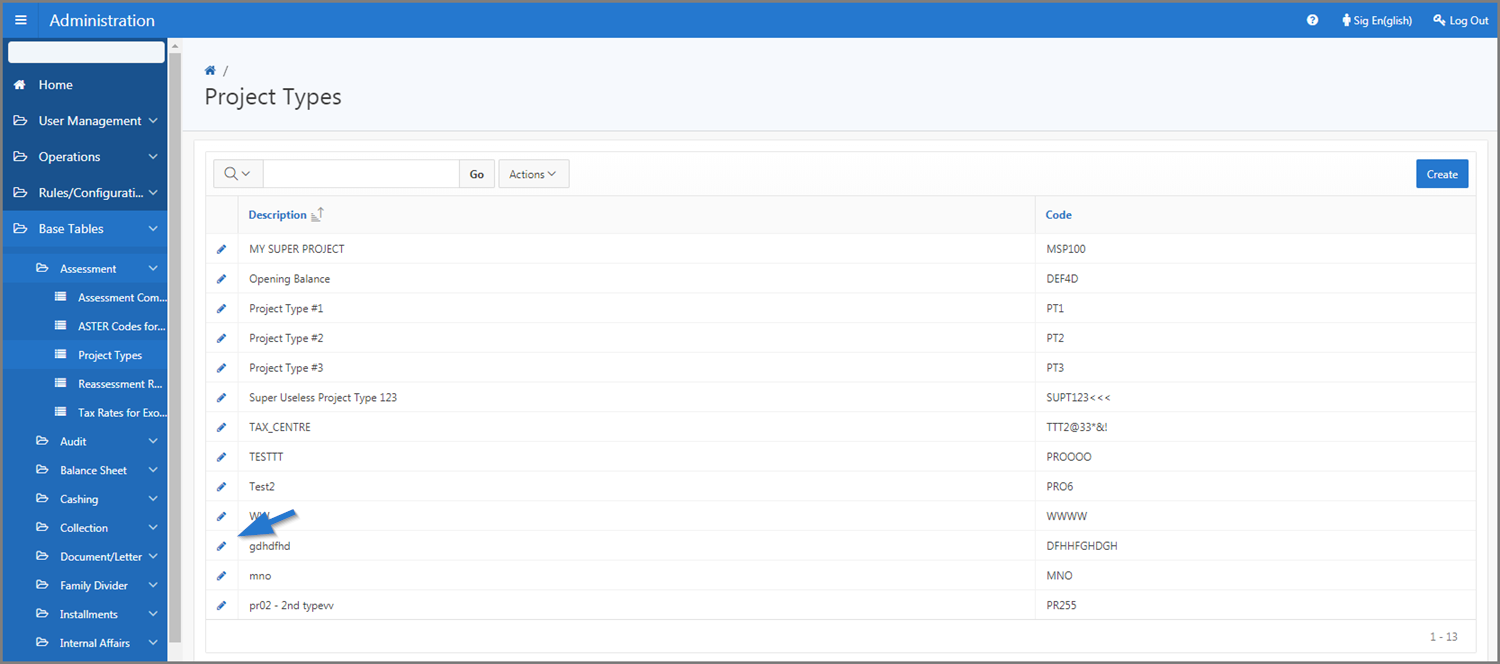
The deletions are made from the Delete button, located at the top right of the page. Clicking this button opens a confirmation window. Once the deletion is confirmed, SIGTAS redirects you to the original page and the information is permanently deleted.
When the Delete button is not available, no deletion is allowed. In some cases, when items are associated with an element, the user must delete elements before deleting contents. For example, when an establishment, a contact and a document are associated with a taxpayer, the user cannot delete the taxpayer until he has dissociated all the related elements, namely the establishment, the contact and the document. This procedure is standardized and applies regardless of the module and whenever the user wishes to delete an item or an element.
The following example explains how to remove an Audit Type.