Add a logo
This part of the guide explains how to add a general logo and the logo to display on the NIF certificate.
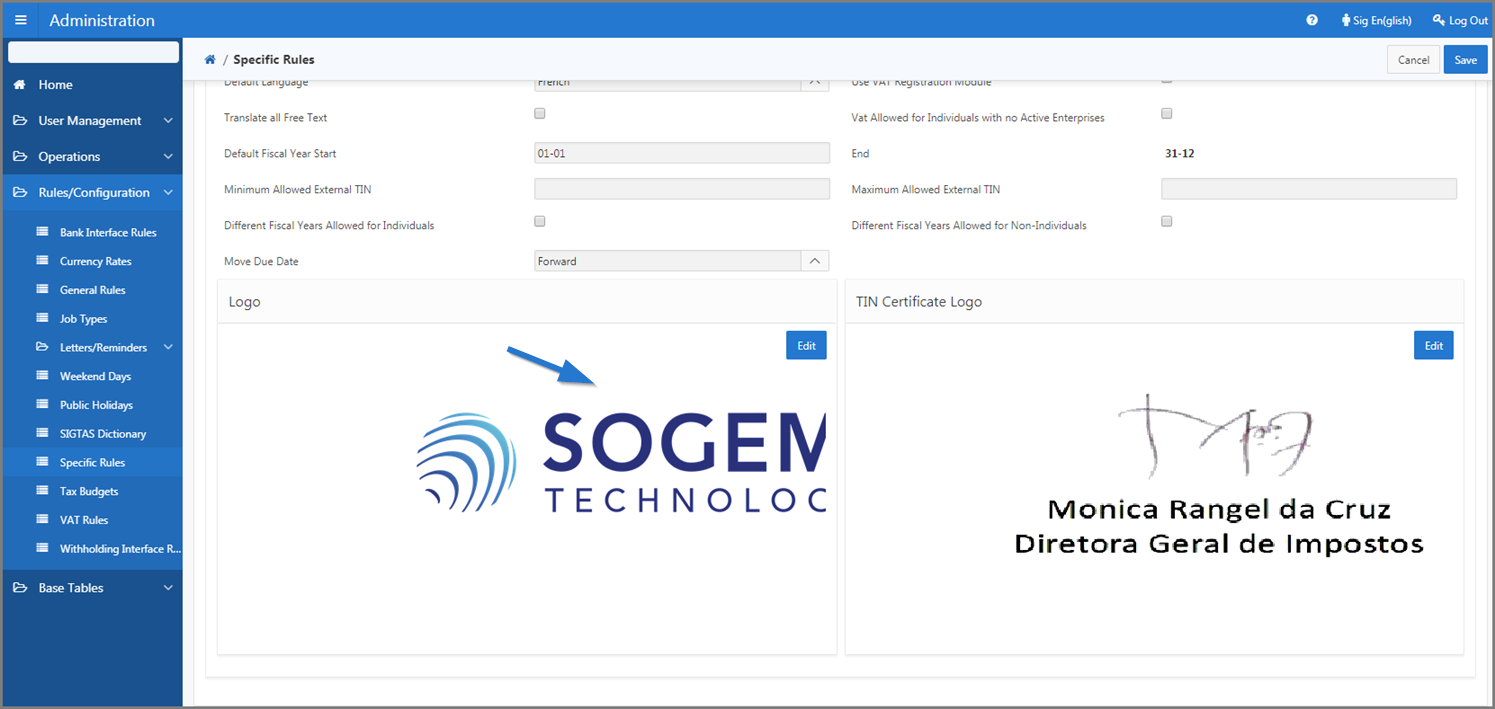
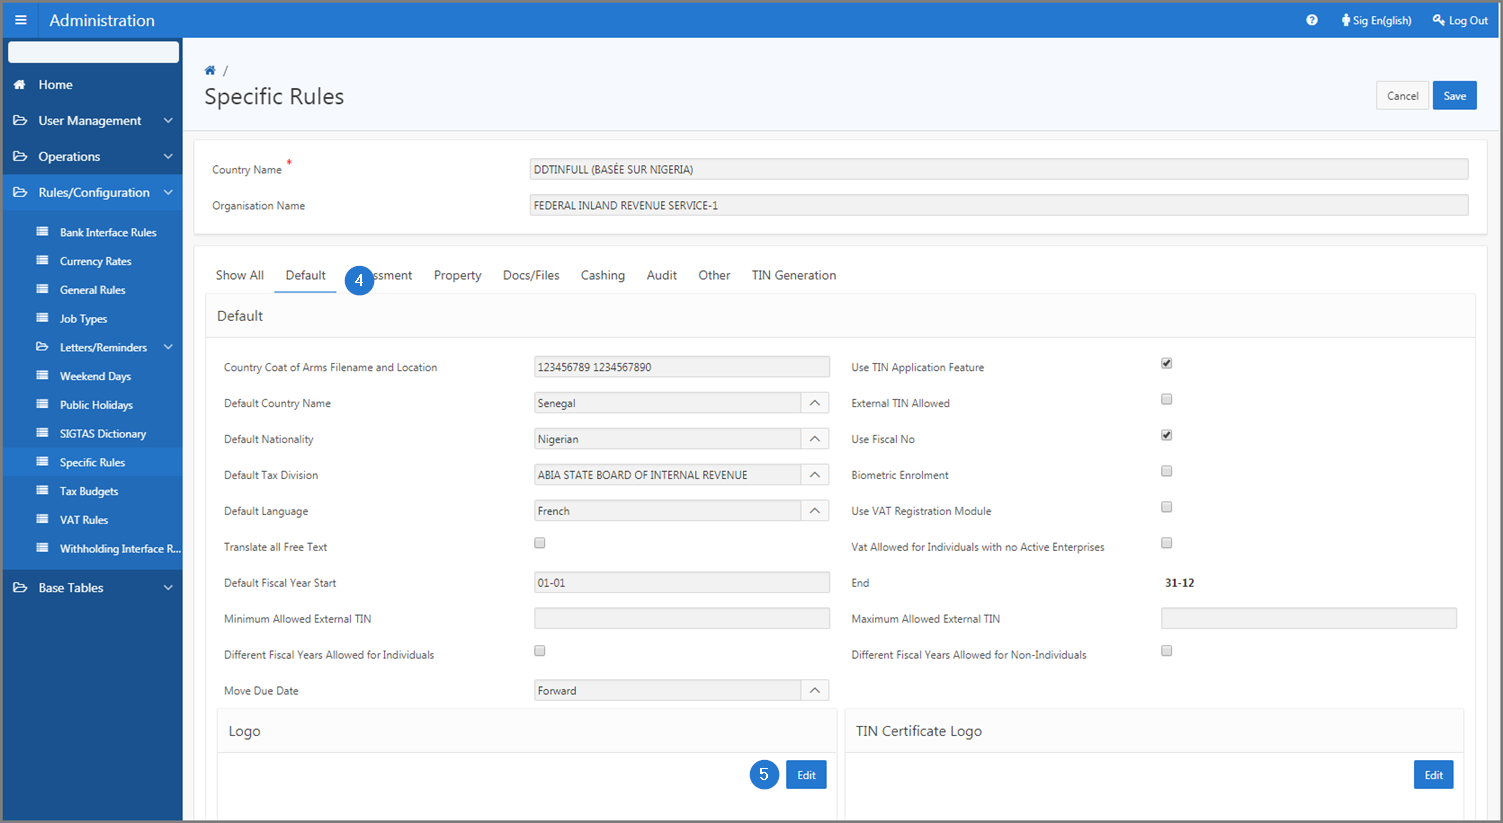
SIGTAS allows the administrator to download logos. This functionality is available from the Specific Rules page (509:2230). Once registered, the logo replaces the previously loaded one.
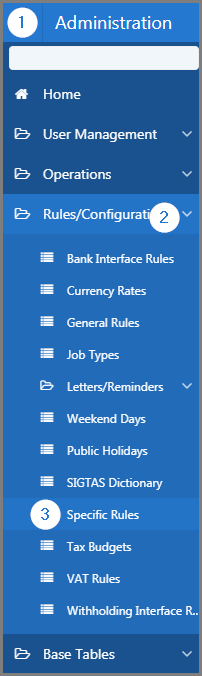
Step 1 - Go to the page Specific Rules
- Go to the Administration module;
- Choose the Rules/Configuration option;
- Click the Specific Rules menu. This action opens the Specific Rules page (509:2230);
Step 2 - Add a logo
- Go to the Default section;
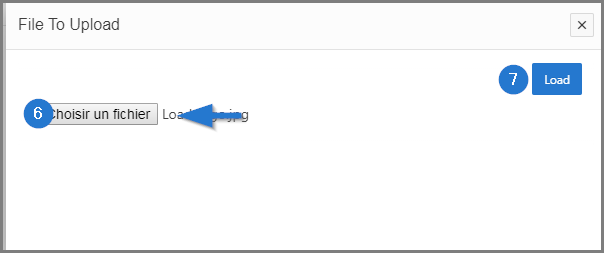
- Click the Edit button of the Logo box. This action opens the File to Upload popup window;
- Click the Choose a File button and select the logo to download from your desktop. This action displays the name of the file to be downloaded;
- Click the Load button. This action confirms the addition of the logo and updates the Specific Rules (509:2230) page. Repeat this operation to load the TIN certificate logo if required.