This part of the guide explains how to add a taxpayer and assign access rights.
To add a taxpayer and assign rights:
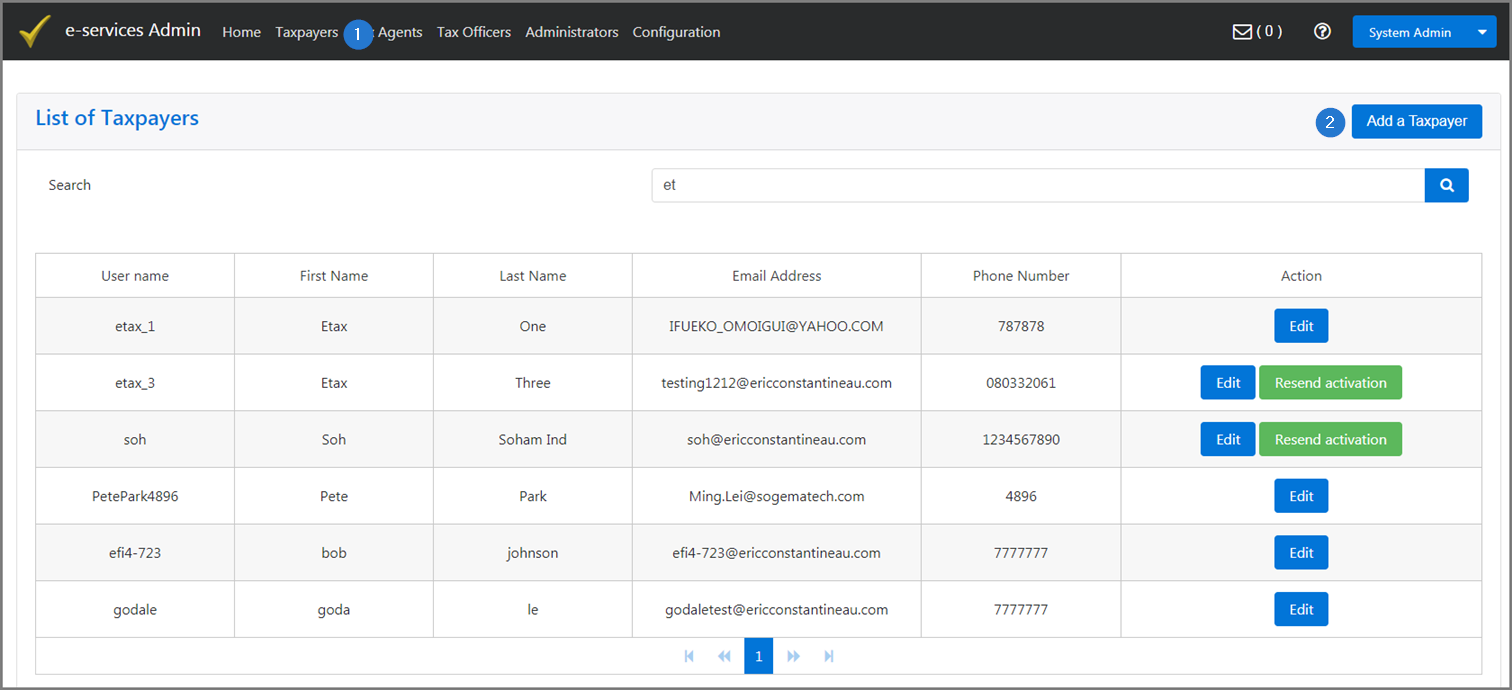
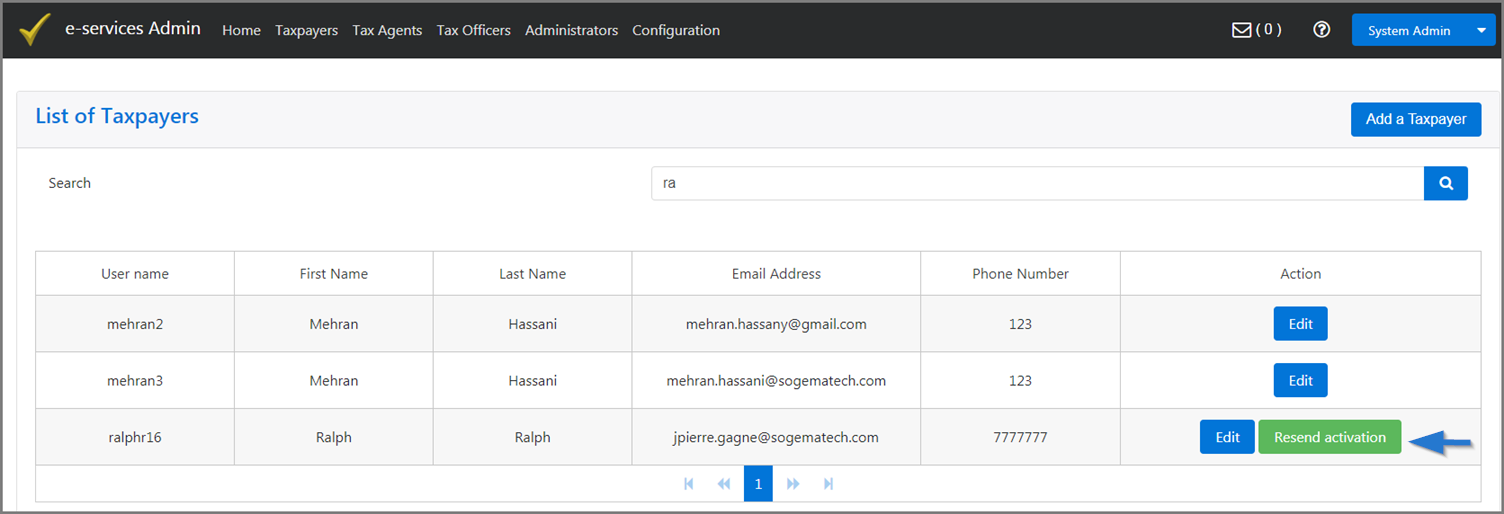
Click the Taxpayers menu. This action opens the List of Taxpayers page;
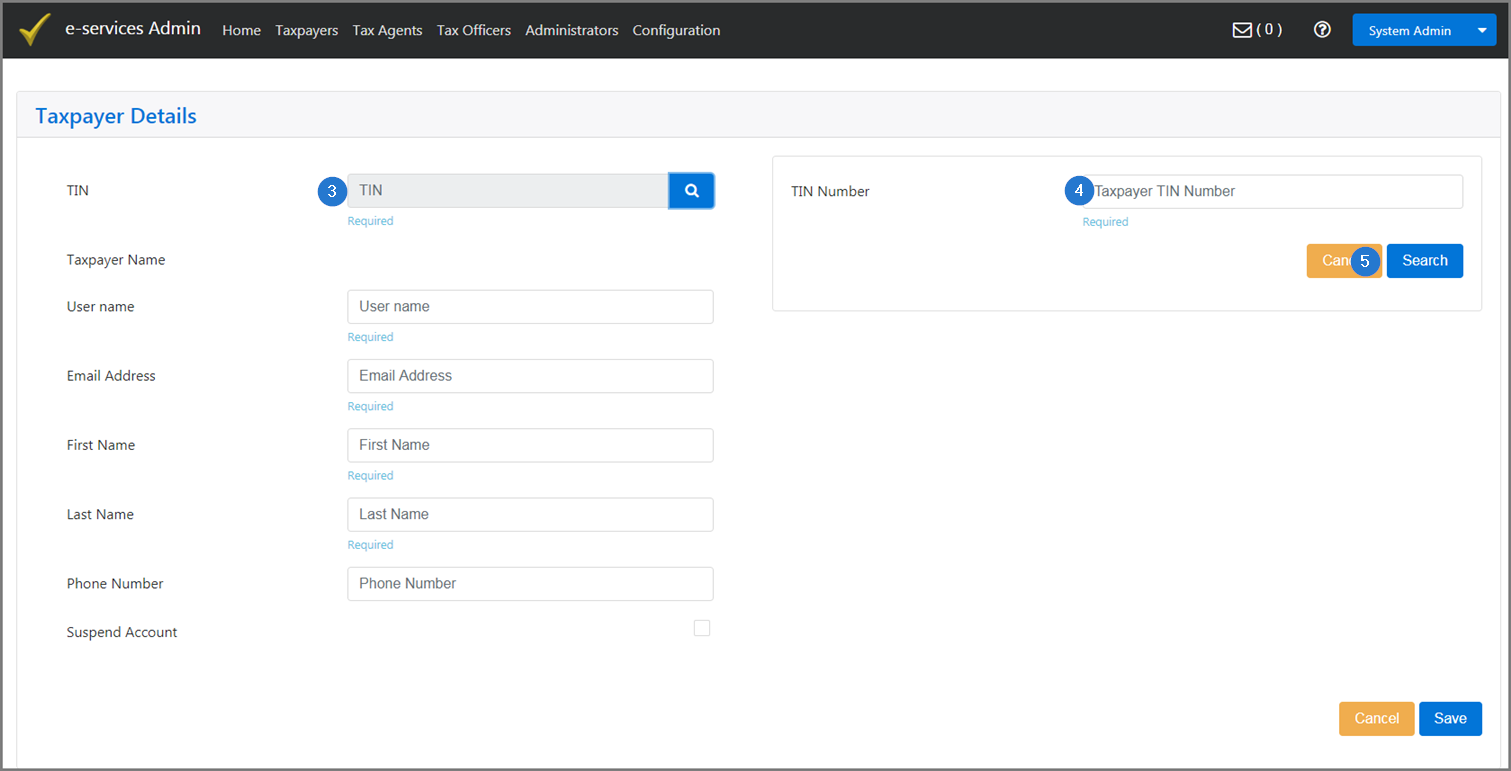
Click the Add a Taxpayer button. This action opens the Taxpayer Details page;
Go to the TIN field and click the Magnifying glass icon. This action opens the TIN dialog box;
Enter the relevant TIN. If you do not know the complete TIN enter the first two or three digits;
Click the Search button. This action displays taxpayers matching the search in the bottom part of the dialog box;
Use the rightward or the leftward arrow to display items on the screen;
Click the Select button of the relevant taxpayer. This action opens the Access Rights dialog box allowing to assign rights to this taxpayer;
Go to the Access Rights section;
Use the direction arrows to select values as appropriate. Clicking the arrow moves items from the right (Available) to the left (Selected), from top to bottom, or vice versa;
Go back to the left section and complete the required field, as appropriate;
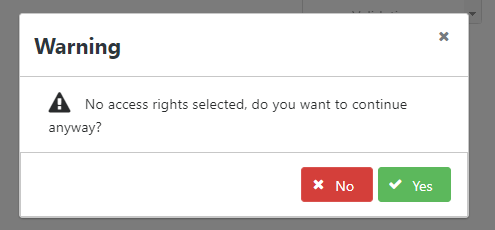
Click the Save button. If you haven't added access rights, a pop-up message is displayed asking if you want to go on without adding access rights to the new taxpayer.
If you click No, the message disappears and you can add access rights to the taxpayer (see point 8 & 9.) Click the Save button again once you are done.
If you click Yes, a confirmation message is displayed. The taxpayer is successfully added and the List of Taxpayers page is displayed.