Add ID documents
This part of the guide explains how to add ID documents. It's the second step of the non-individual enterprise application process.
Step 1 - Go to the ID Documents popup window
- Click the Add button. This action opens the ID Documents popup window;

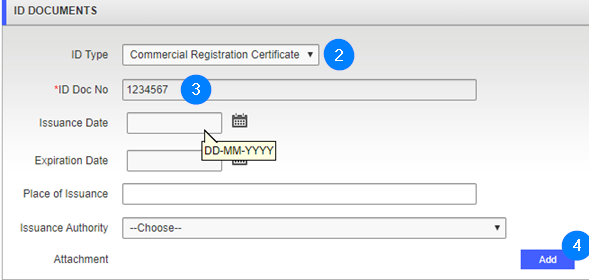
Step 2 - Add ID documents
- Use the dropdown list to choose the ID Type,if required;
- Enter the ID Doc No.;
- Click the Add button. This action opens the Upload popup window;
- Click on the Choose file button;
- Select the file from your computer then click on the Load button;

- Click the Save button. This action confirms the addition of the ID document and updates the ID Documents page (the train navigation button turns green);

- Click the Next button to access the following step: Add a branch.
