Manage your messages
e-services Admin allows to send, reply or delete messages and attach document, as appropriate.
Please note the following restrictions:
- Tax officers with the "client services" access right can communicate with taxpayers or tax agents that are assigned to the same tax center as them.
- Tax officers without the “client services” access right scannot access the mailbox page or receive emails.
- Administrators with the "client services" access right can communicate with taxpayers or tax agents of any tax center.
- Administrators without the “client services” access right cannot access the mailbox page or receive emails.
All these fuctionalities are available in the Mailbox page.
To send a message:
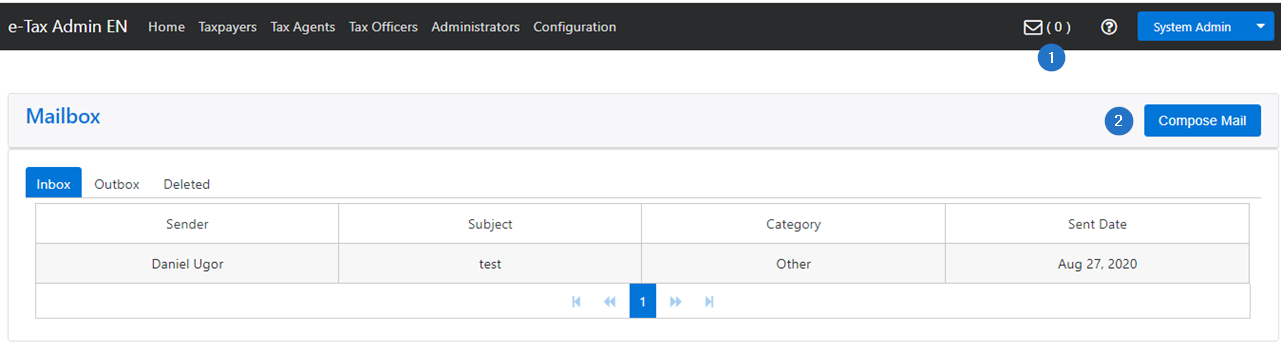
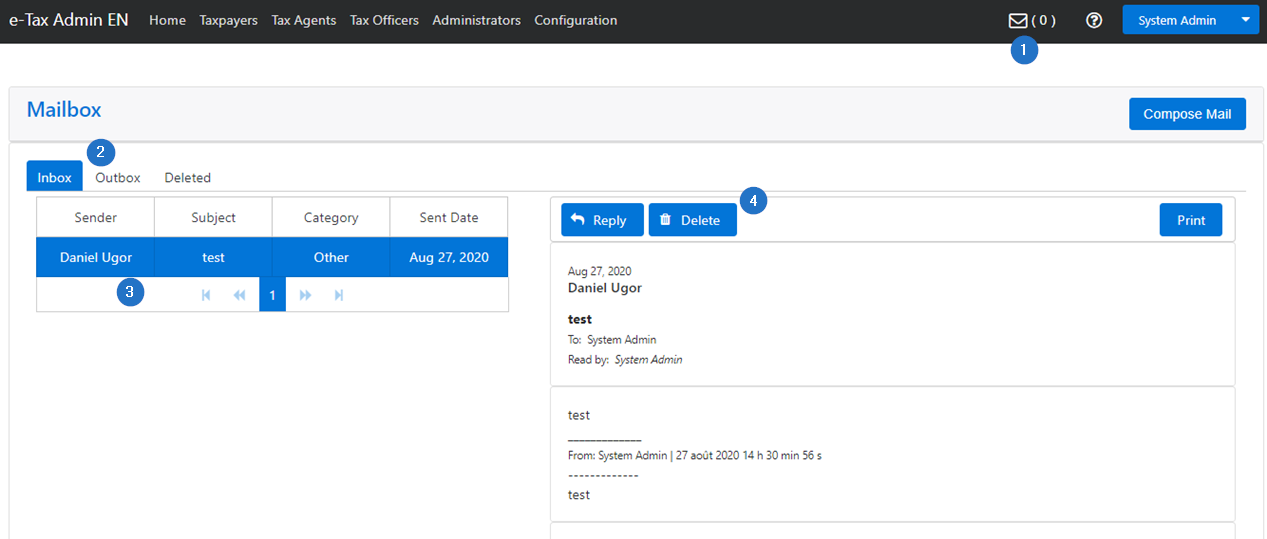
- Click the Message icon in the top right corner of the toolbar. This action opens the Mailbox (Inbox) page;
- Click the Compose Email button. This action opens the Compose Mail page;
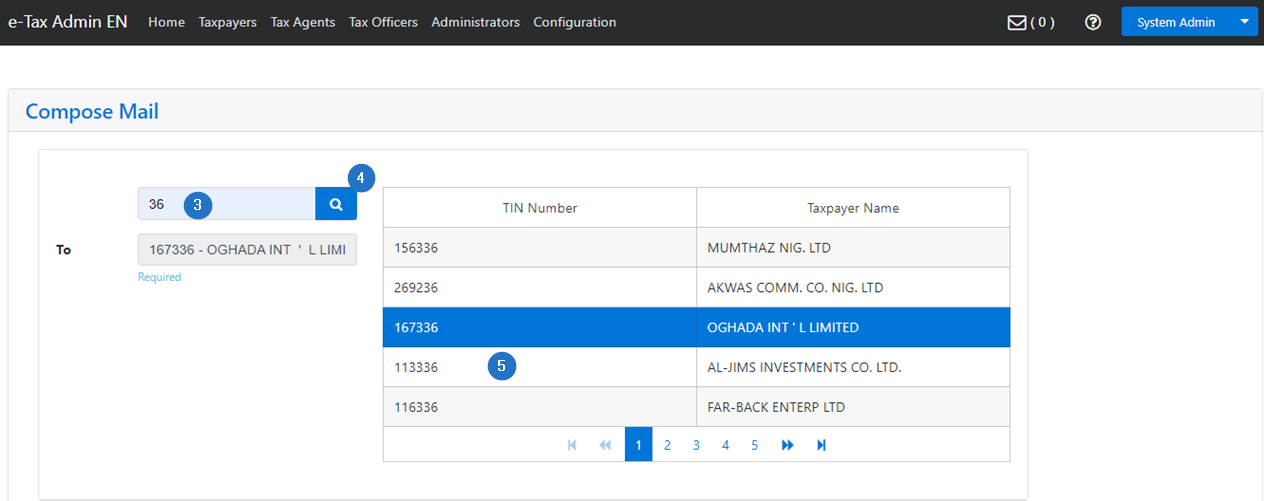
- Go to the search field (magnifying glass icon) and enter the taxpayer TIN. If you do not know the complete TIN of the taxpayer, fill out the first two or three digits;
- Click on the magnifying glass icon. This action updates the page and displays the requested taxpayer TIN on the right;
- Click the line that corresponds to the selected TIN. Use the rightward or leftward arrow to access items. This action updates the page and displays taxpayer details;
- Complete the Subject field;
- Enter your Message;
- Click the Choose button to attach a document. This action confirms the attachment and updates the Compose Email page;
- Click the Send Mail button. This action sends your email and displays your message on the Outbox page.

To reply to a message:
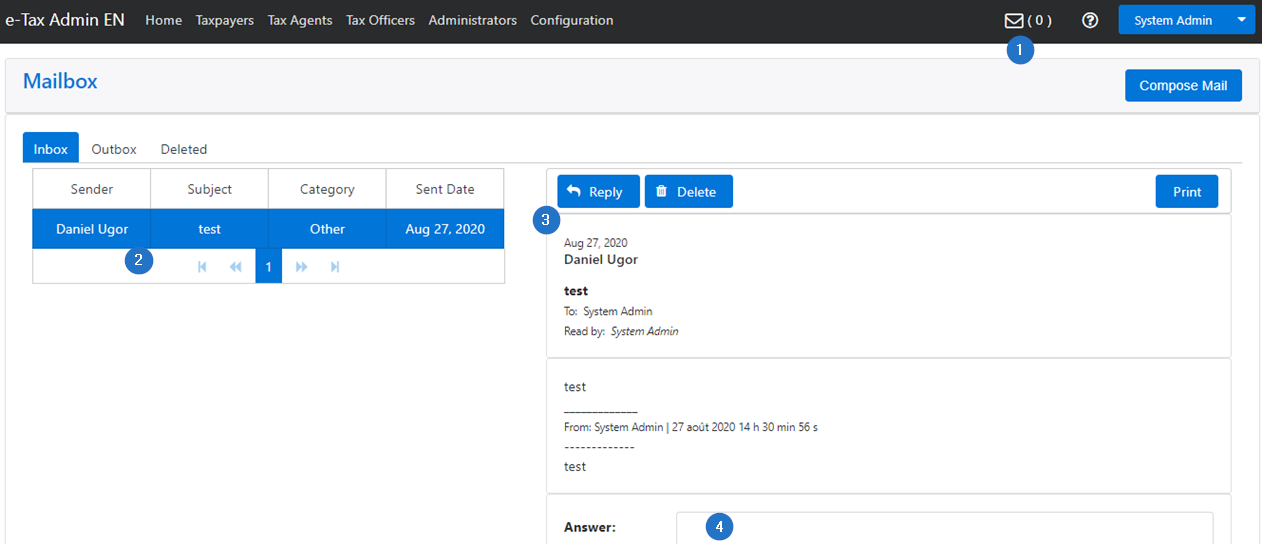
- Click the Message icon in the top right corner of the toolbar. This action opens the Mailbox (Inbox) page;
- Click the sender subject to your reply (the line turns blue). This action displays details in the dialog box on the right;
- Click the Reply button. This action adds the Reply field to the dialog box;
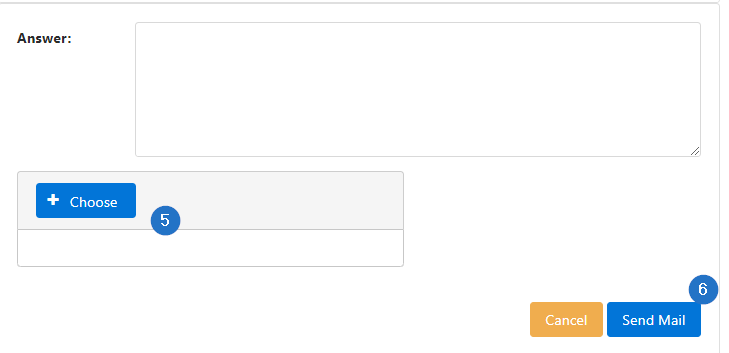
- Go to the Answer section and enter your reply;
- Attach a document with the Choose button if needed;
- Click on Send Mail. This action confirms the email was successfully sent and updates the Outbox page.
To delete a message:
- Click the Message icon in the top right corner of the toolbar. This action opens the Mailbox (Inbox) page;
- Click on the Inbox or Outbox tab, as appropriate. You can also use the rightward or leftward arrow to access selection;
- Click the line of the sender or recipient subject to the request (the line turns blue). This action displays sender or recipient details in the dialog box in the right;
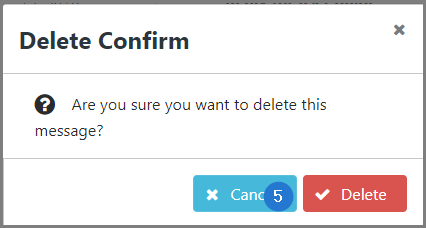
- Click the Delete button. This action opens the dialog box Delete Confirm;
- Click the Delete button. This action confirms the suppression of the email and updates the Deleted page.